How to Install LED Funfair Ride Lamps
- date: 2024-10-16
- category: Industry news
- click:
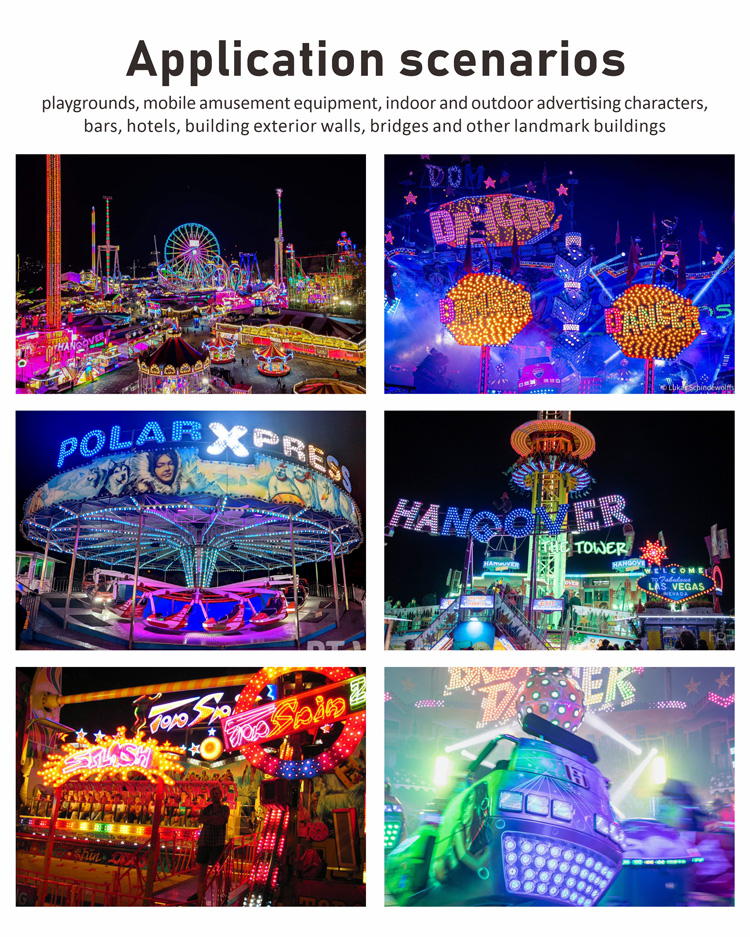
The main purpose of using LED lights in funfair ride is to enhance the visual appeal of the funfair ride. By using LED funfair lights, funfair ride can not only show a more beautiful and moving appearance at night, but also increase the fun and excitement of the funfair ride through the changes and effects of lights, thereby attracting more tourists to come and watch and experience

One of the most often requested inquiries is "How to Install LED Funfair Ride Lamps?" - This is perfectly understandable.
Installing LED funfair ride lights is a process that requires careful planning and execution. Here are some detailed steps and precautions to help you complete the installation smoothly:
1. Prepare tools and materials:
Prepare the tools required for installation, such as screwdrivers, wrenches, pliers, electric drills and screws, insulating tape, wire connectors, cable ties, electrical tape, safety equipment (gloves, goggles, insulating shoes), controllers (if necessary), etc.
2. Power off
• Turn off the power: Before starting any installation work, make sure to turn off the relevant power switches to avoid the risk of electric shock.
• Use a voltage detector: Use a voltage detector to confirm that the power has been completely cut off.
|
|
|
|


3. Determine the installation location
• Choose a suitable location: Determine the installation location of the lamp according to the design drawings and actual needs. Make sure the location can provide sufficient lighting effects and is easy to maintain.
• Mark the installation point: Use a marker to mark the installation location for subsequent drilling and fixing.
4. Install the bracket
• Fix the bracket: Depending on the type of lamp, use screws or expansion bolts to fix the mounting bracket to the predetermined position. Make sure the bracket is firm and stable.
• Check level: Use a level to check if the bracket is level and adjust if necessary.
5. Wiring
• Lay the power cord: Lay the power cord from the power source to the fixture installation location. Use cable ties to secure the power cord to ensure that the line is neat and orderly.
• Connect the power cord: Connect the power cord to the fixture's wiring terminal according to the fixture's wiring diagram. Use wire connectors and insulating tape to ensure that the connection is secure and well insulated.

6. Install the luminaire
• Fix the luminaire: Fix the luminaire to the mounting bracket, ensuring that the luminaire fits tightly to the bracket and is not loose.
• Connect control equipment: If a controller, sensor or timer is required, connect it to the luminaire and power cord according to the instructions.
7. Test the luminaire
• Restore power: After confirming that all connections are correct, restore the power supply.
• Test the luminaire: Turn on the power switch and test whether the luminaire is working properly. Check whether the light is uniform, the brightness is as expected, and whether there is flickering or other abnormalities.
8. Adjust and calibrate
• Adjust the angle: Adjust the angle of the luminaire as needed to ensure the best lighting effect.
• Calibrate control equipment: If a controller, sensor or timer is used, calibrate and set it according to the manual.
9. Final inspection
• Check safety: Make sure all connections are firm and reliable, and there are no exposed wires or loose parts.
• Clean up the site: Clean up the installation site, remove all tools and debris, and keep it tidy.
10. Records and documents
• Record installation information: Record the model, installation date, location and other information of the lamp for future maintenance and management.
• Save the manual: Save the manual and other related documents of the lamp for future use.
Specific example: Steps to install the LED lights of the carousel

1: Prepare tools and materials
• Tools: screwdriver, wrench, pliers, electric drill, insulation tape, wire connector, cable tie, electrical tape
• Materials: RGB LED strip light , RGB floodlight, power cord, mounting bracket, DMX controller
Step 2: Power off
• Turn off the power switch of the carousel and use a voltage detector to confirm that the power is cut off.
Step 3: Determine the installation location
• According to the design drawings, mark the installation points on the top of the carousel, inside and outside the carriage, pillars, etc.
Step 4: Install the bracket
• Use screws or expansion bolts to fix the mounting bracket to the marked position. Make sure the bracket is firm and level.
Step 5: Wiring
• Lay the power cord from the power source to each lamp position and fix the power cord with cable ties.
• Connect the power cord to the terminal of the lamp and use wire connectors and insulation tape to ensure a secure connection.
Step 6: Install the lamp
• Top decoration:
• Use RGB LED floodlights and fix them to the top of the carousel through the bracket.
• Connect the power cord and DMX controller to ensure that the positive and negative poles are correctly aligned.
• Inside the carriage:
• Use warm white LED light strips and stick them to the edge of the inside of the carriage.
• Connect the power cord and ensure a secure connection.
• Outside the carriage:
• Use multi-color RGB LED point light sources to embellish the details of the carriage.
• Connect the point light sources to the power cord through quick connectors.
• Pillars and structures:
• Use high-brightness LED floodlights to illuminate the pillars and the overall structure.
• Fix the lamps through the brackets and connect the power cords.
Step 7: Test the lamps
• Restore the power supply, turn on the power switch, and test whether all lamps are working properly.
• Check whether the color, brightness and dynamic effects of the light are as expected.
Step 8: Adjustment and calibration
• Adjust the angle of the lamps according to the actual effect to ensure the best lighting effect.
• Calibrate the DMX controller to set different lighting scenes and dynamic effects.
Step 9: Final inspection
• Check whether all connections are firm and there are no exposed wires or loose parts.
• Clean up the site, remove all tools and debris, and keep it tidy.
Step 10: Records and documents
• Record the model, installation date, location and other information of the lamps.
• Save the manuals and other relevant documents of the lamps.
Safety precautions
• Wear protective equipment: During the installation process, always wear gloves, goggles and insulated shoes to ensure personal safety.
• Comply with electrical regulations: Make sure that all electrical connections comply with local electrical regulations and standards.
•Avoid humid environments: When installing in humid or rainy environments, ensure that the luminaire has an appropriate waterproof rating (such as IP65 and above).
•Professional help: If you are not familiar with electrical installation, it is recommended to ask a professional electrician or technician to install it to ensure safety and compliance.
With the above steps, you can smoothly install LED luminaires for theme park rides. Make sure to operate carefully at each step and follow safety regulations to ensure the safety and performance of the luminaire.