
Group info
How To Cut, Connect and Install LED Strip Lights Guide
- date: 2024-01-22
- category: Industry news
- click:
LED strip lights are a common tool in the modern lighting industry, popular for their soft light and rich colors. However, in the process of using LED light strips, we often encounter situations that require cutting. How to correctly cut, connect and install LED light strips has become a concern for many people. This LED strip light guide will tell you everything you need to know about cutting, connecting, and installing LED strip lights.
In this guide:
Can you cut led light strips?
Many LED light strips currently on the market can be cut. The circuit of the LED light strip adopts a series-parallel design, but the cutting rules are different. This depends on the design of the LED strip. Generally, manufacturers of LED light strips produce LED lights. LED light strips have circuit rules when used, and LED light strips can be customized according to requirements. LED lamp beads are also used upon request. Different cutting positions will also be different.
How to cut LED light strips?
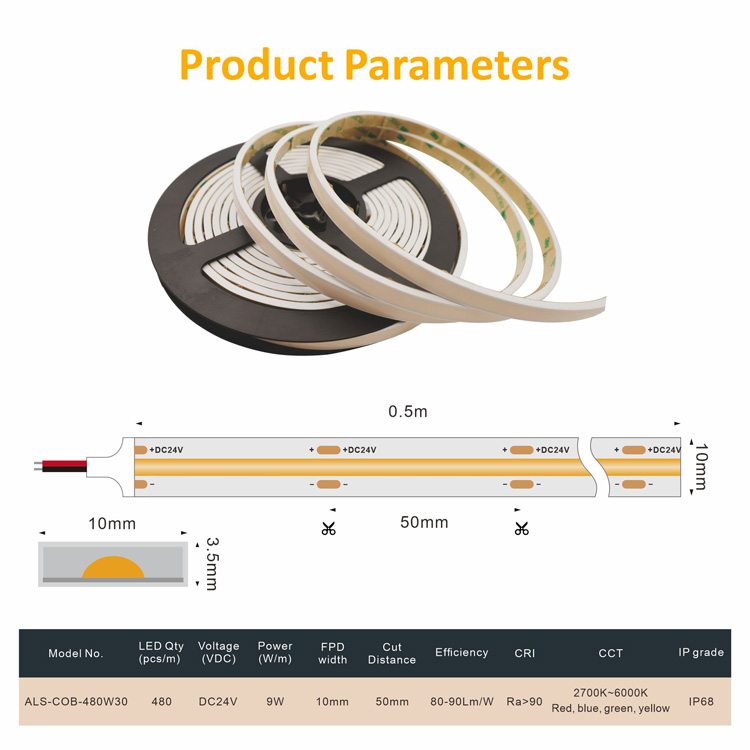
LED strips are designed to make cutting easy, so all you need is a pair of scissors. Cut along the cut line (sometimes also with a scissors icon on it) or between the pair of copper dots that appear at the end of each LED unit. Cutting elsewhere could damage the circuit and render your roll unusable.
Always make sure the power supply is disconnected before cutting. It's important to cut a straight line, rather than a diagonal line, as this will damage the connection and may cause the lights to not work when you try to connect them to another strip.
How to connect led light strip? Wiring method of led light strip
1. Direct wiring method: suitable for shorter light strips, that is, each branch cable is directly connected to the power cord. When connecting, special attention should be paid to the anode and cathode of the light strip to avoid reverse connection. This method is quick and easy, but may not be suitable for longer or complex light strip systems.
2. Wiring method: suitable for longer light strips. It is necessary to add a light strip connector in the middle to prevent excessive load current and maintain the stability of the power cord. Install the connector first and then connect it to the power cord. Connectors should be from the same brand to ensure compatibility. Once the wiring is complete, electrical pliers and insulating tape should be used to ensure a secure connection.
3. Controller wiring method: Some light strips need to be adjusted by the controller, such as brightness and color. In this case, you need to connect the power cord to the corresponding interface of the controller, and then connect the light strip to the controller. Controllers usually have interfaces for connecting power cords, light strips, remote controls, etc.
4. Welding method: For some specific LED light strips, welding may be required to connect. This usually involves soldering the wires from the light strip to specific dots to make the circuit connections.
5. Terminal connection method: If the light strip has multiple lamp beads, they may need to be connected in series and formed through a resistor network to form a complete circuit. In this case, you need to connect the two output lines of the DC power supply to the positive and negative wire ports of the light strip respectively, and plug the power cord into the socket.
6. Driver wiring method: For those light strips that require a driver, you need to plug the driver plug into a household AC power socket, or use a 12V battery pack to power it. Drivers usually have dedicated pins for connecting the positive and negative poles of the light strip.
When making any type of connection, you need to make sure that all connections are secure and that there are no short circuits or other safety hazards. Proper safety practices should be followed when using electrical pliers and electrical tape to make connections.
Can LED strips be connected together?
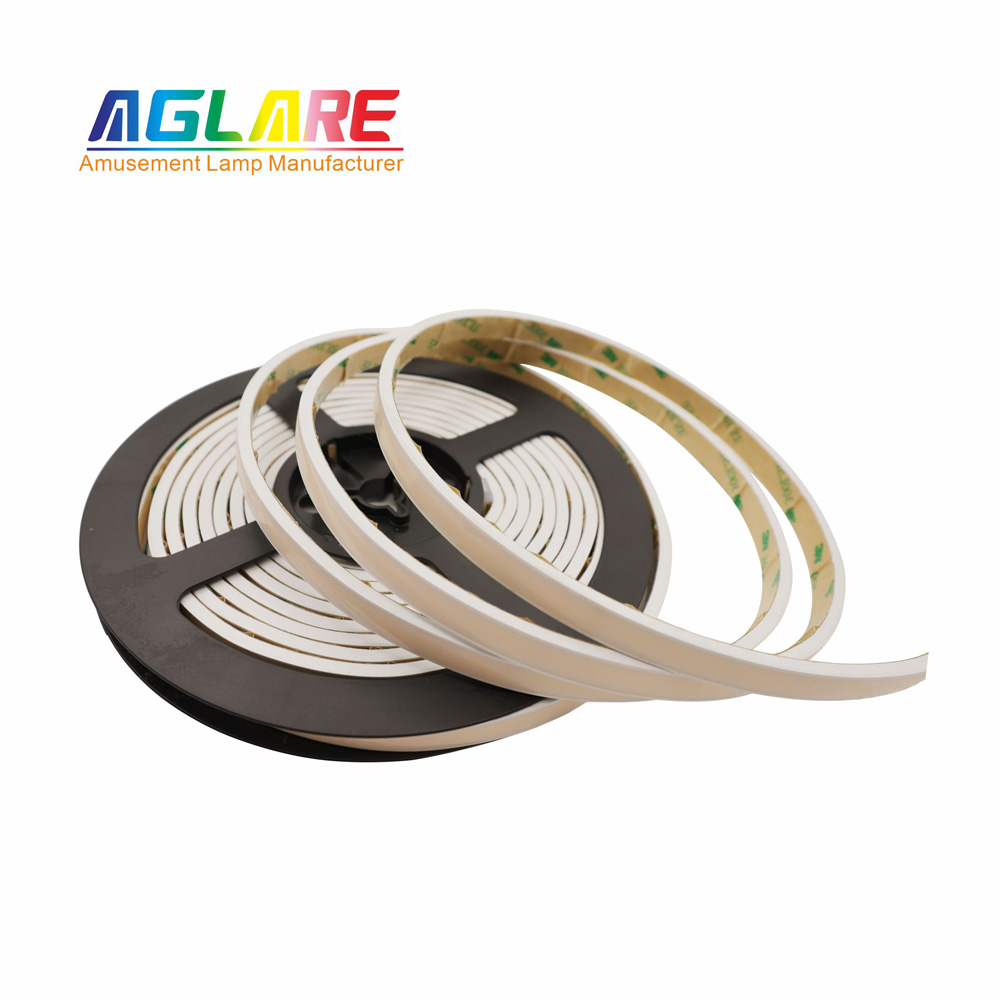
You can connect LED strips together. You may want to do this if you need to use the strips to get around corners or obstacles, or if you need to join two reels together for a larger room. While you can do this with a soldering iron, not everyone has one, so you'll need to buy the connector with a spool.
How to connect two LED strips together?
Two LED strips can be connected together using strip connectors. There are two types of connectors; clip on and fold away. The connector you choose to use will depend on the type of light strip you want to connect.
Once you have selected the correct connector, you should slowly slide the end of the LED strip into the connector; do this carefully to avoid any damage to the light. Connectors can be used to join two strips together to extend the length of the LED strip or to bypass any obstructions that might get in the way of the LED strip (such as heating pipes).
LED light strips can also be connected with a soldering iron. This process involves heat being used to melt copper wires to each other in order to connect them. After soldering the wires together, you should always cover the exposed wires with tape for safe use.
How many LED strips can you connect together?
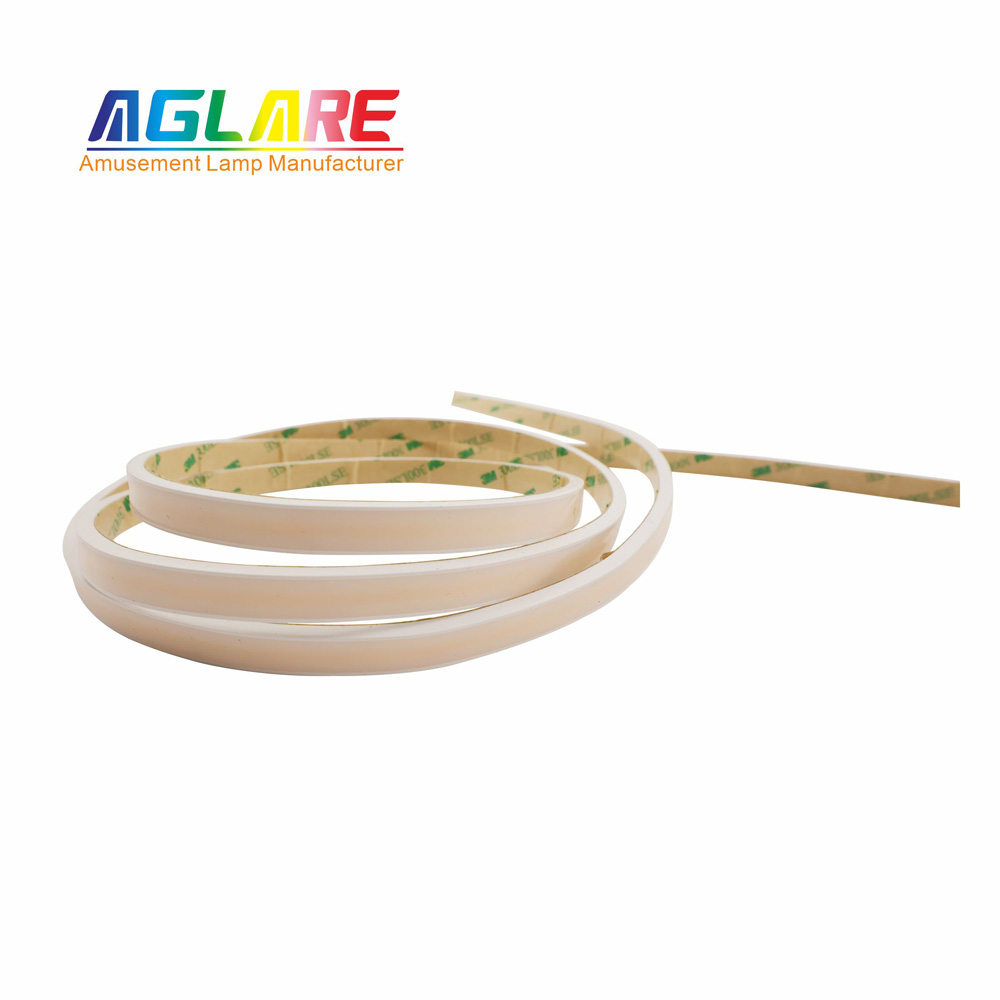
The number of LED strips you can connect together ultimately depends on the specifications of the strips you are using. You need to make sure that the strips you are connecting to are of the same specifications and that your power supply can handle connecting to multiple strips. Many of WeLoveLED's light strips can be powered from one end only and can be up to 5 meters in continuous length.
How to connect an LED strip to a power source
For ease of use, the LED strip can be connected to a power source. This requires some simple wiring, and you'll need to purchase hookup wires with clips to hold the LED strips in place.
To connect an LED strip to a power source, you need to first insert the strip into the clip on the connector wire. Match the "+" sign on the tape with the red wire and the "-" sign with the black wire, and press firmly to close the snap. You may need to remove some of the adhesive backing from the tape to perform this step. The connector wire can then be plugged into the power source. For optimal power, you may consider purchasing an LED transformer; this is a power adapter with a higher output wattage that can efficiently power larger lighting systems.
How to install led light strip?
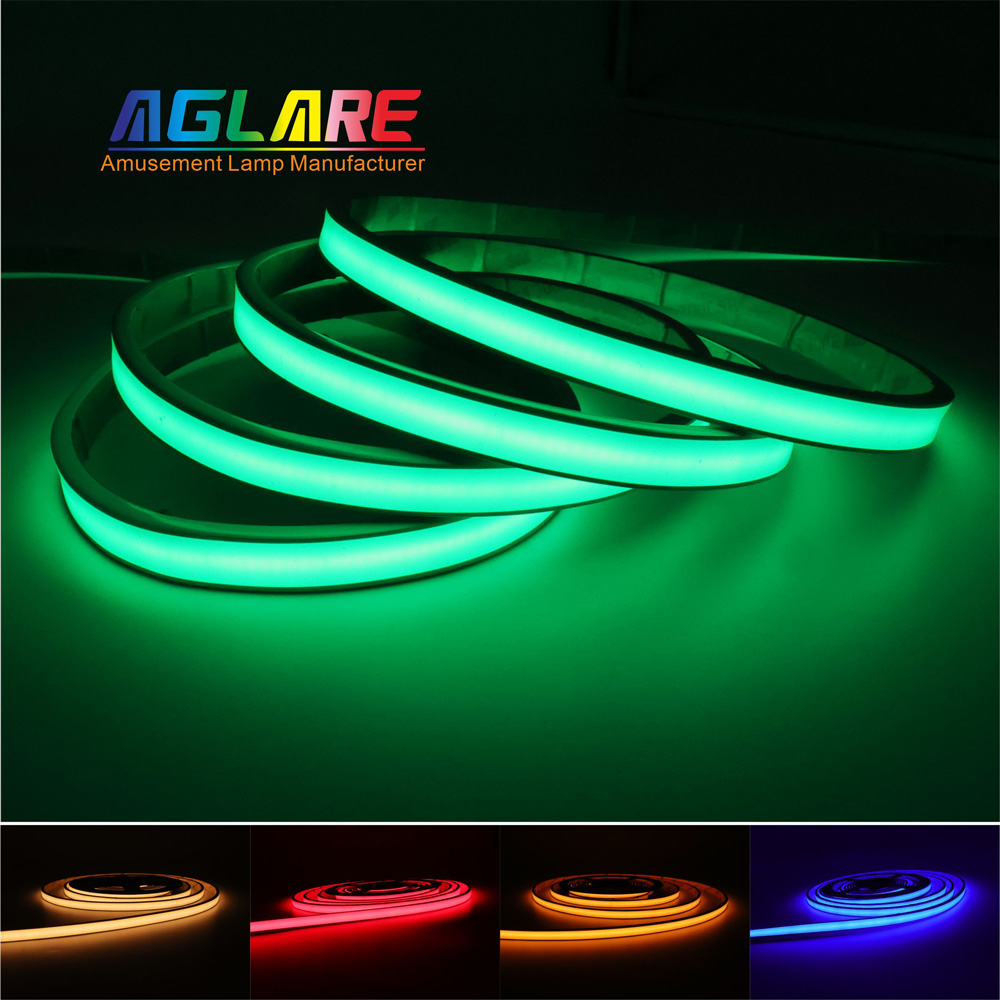
1. Indoor installation: When LED light strips are used for indoor decoration, they do not have to withstand wind and rain, so the installation is very simple. Take the LED light strips produced by aglare lighting as an example. Each LED light strip has self-adhesive 3M double-sided tape on the back. During installation, you can directly peel off the sticker on the surface of the 3M double-sided tape, and then fix the light strip where it needs to be installed. Just press it flat with your hands. What should I do if some places need to be turned around or are too long? It's very simple. The LED light strip is a circuit structure composed of a group of 3 LEDs connected in series and parallel. Every 3 LEDs can be cut off and used individually. The connection method of the cut LED light strip is as shown in the figure:
2. Outdoor installation: Outdoor installation will be exposed to wind and rain. If 3M glue is used to fix it, the 3M adhesive will decrease over time and cause the LED light strip to fall off. Therefore, outdoor installation often uses card slots to fix it. Where cutting and connection are required, the method is the same as for indoor installation, except that additional waterproof glue is required to consolidate the waterproof effect of the connection points. The waterproof glue is shown in the picture:
3. Power supply connection method: The general voltage of LED light strips is DC 12V, so a switching power supply is required. The size of the power supply is determined according to the power and connection length of the LED light strips. If you do not want each LED light strip to be controlled by a power supply, you can purchase a relatively high-power switching power supply as the main power supply, and then connect all the input power supplies of all LED light strips in parallel (if the wire size is not enough, you can extend it separately). All are powered by the main switching power supply. The advantage of this is that it can be controlled centrally. The inconvenience is that it cannot realize the lighting effect and switch control of a single LED light strip. The specific method can be measured by yourself.
4. Controller connection method: LED marquee strips and RGB full-color light strips need to use a controller to achieve changing effects, and the control distance of each controller is different. Generally speaking, the control distance of a simple controller is 10 to 15 meters, the control distance of the remote controller is 15 to 20 meters, and the longest distance can be controlled to 30 meters. If the connection distance of the LED light strip is long and the controller cannot control such a long light strip, then a power amplifier is needed for tapping.
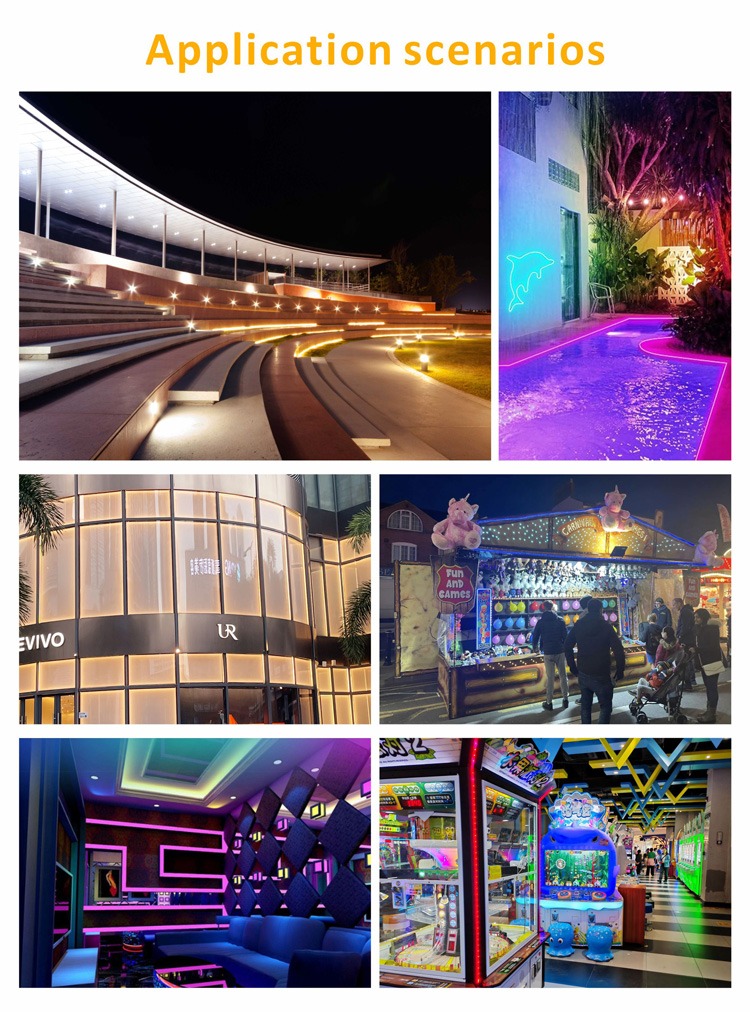
Precautions when installing LED light strips:
1. Check connections: Check that all cables and connectors are secure. If the plug is not tight, it may cause circuit interruption or short circuit, affecting the normal operation of the LED strip.
2. Waterproof measures: If the LED light strip is installed in a humid environment or outdoors, waterproof measures must be taken to ensure that the LED light strip is not affected by water, rain, snow, etc.
3. Avoid overheating: LED strip lights should be placed in a well-ventilated location to avoid overheating. If the LED light strip overheats, it may affect its lifespan and performance, and even cause safety issues such as fire.
4. Regular cleaning: LED light strips may accumulate dust and dirt after long-term use, which will affect their brightness and color. Therefore, it is very important to clean the LED light strip regularly. You can use a soft cloth to wipe it gently and avoid using harmful chemicals.
5. Pay attention to voltage: If the operating voltage of the LED strip exceeds the rated voltage of the equipment or power supply, it may cause equipment damage or electric shock and other safety issues. Therefore, when choosing an LED light strip, you should pay attention to its rated voltage and ensure that it matches the voltage of the device and power supply.
