-
Products Center
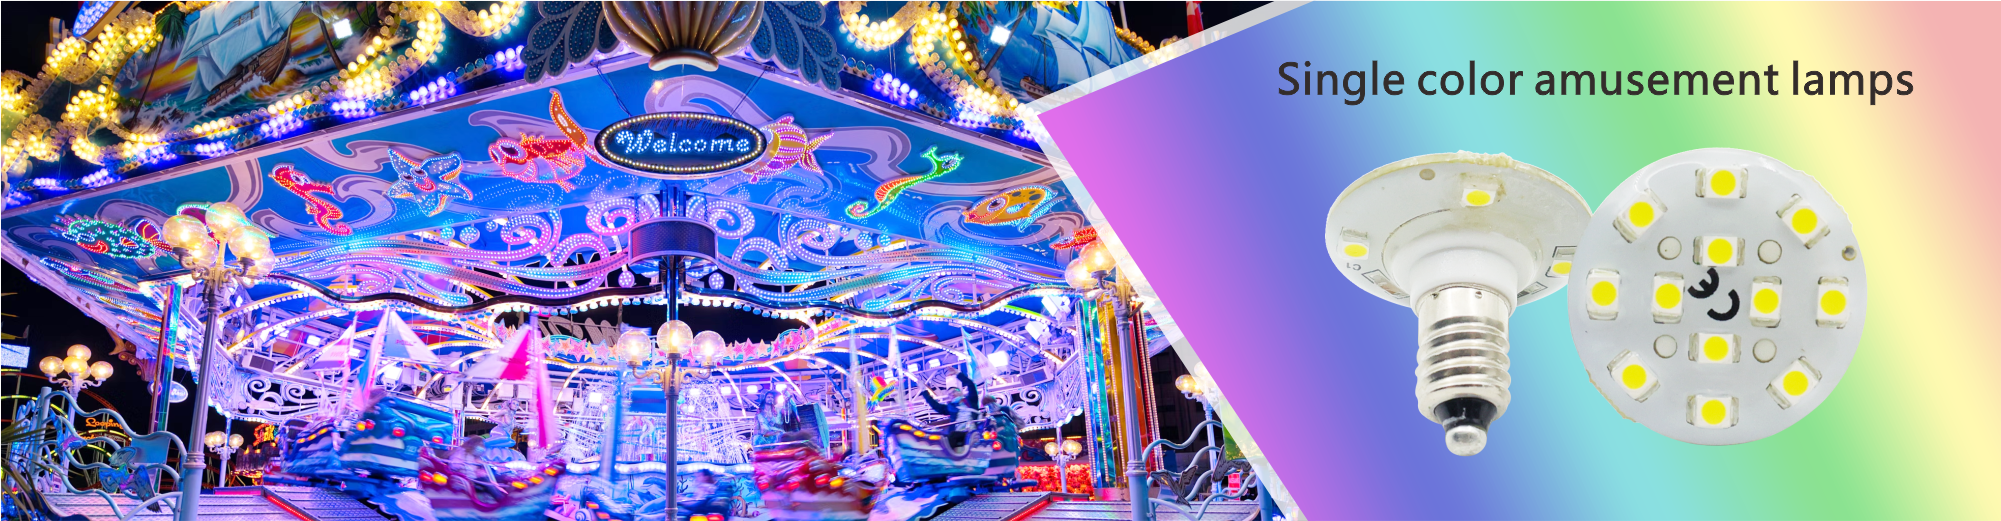
- Single colour Amusement Lights
- E10 Single Colour Amusement Lights
- E14 Single Colour Amusement Lights
- E27 Single Colour Amusement Lights
- 2PIN Single Colour Amusement Lights
- Automatic Amusement Lights
- E10 Automatic Amusement Lights
- E14 Automatic Amusement Lights
- E27 Automatic Amusement Lights
- 2PIN Automatic Amusement Lights
- Programmable Amusement Lights
- 0.2-2WProgrammable Amusement Lights
- 2.1-5W Programmable Amusement Lights
- 5.1-20W Programmable Amusement Lights
- 21-100W Programmable Amusement Lights
- Application Area
- Certificate Center
- Technical Support
- Contact US
How to make your own LED Letter Lights
- date: 2024-04-30
- category: Industry knowledge
- click:
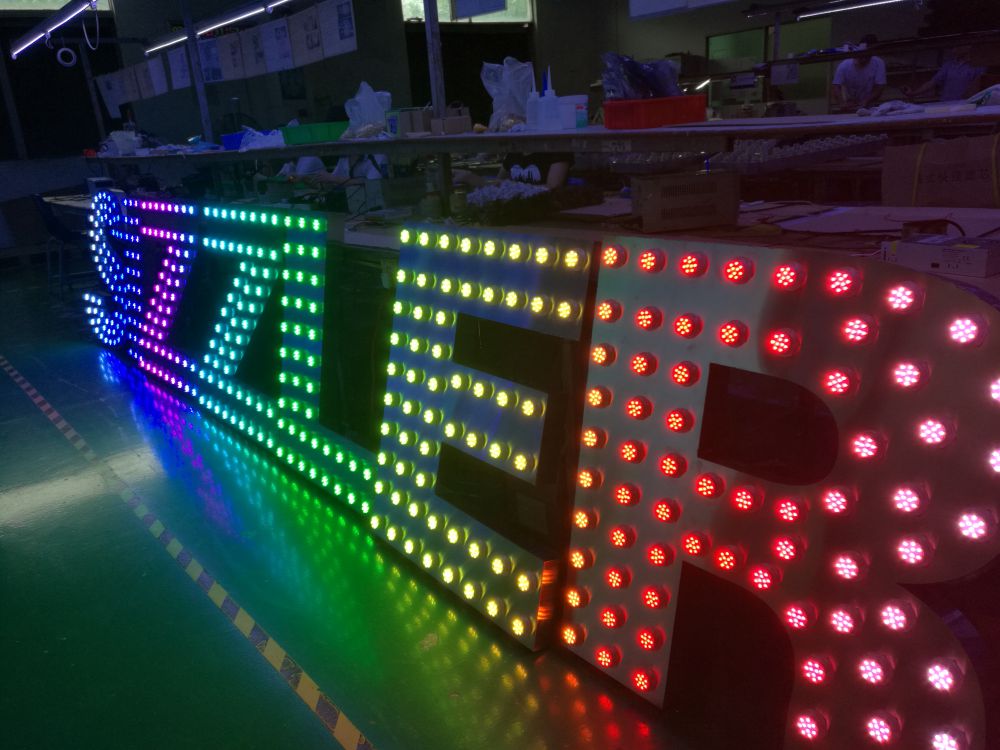
As festive seasons and joyous celebrations like carnivals, amusement park parties, weddings, and holidays fall upon us, we find ourselves fielding questions on creating personalized alphabet lights. A simple and fun project for those keen on crafting their own gleaming amusement park style mementos. Well, good news - we're armed with answers and eager to assist!
|
|
(Buy LED Letter Lights link:https://www.aglare.com/amusement-lamp/)
The process of creating homemade alphabet lights is surprisingly straightforward. To get started, here's what you'll need:
Item that you want to add lights too, such as “LOVE” cut from plywood.
Theme decoration: Fairground cabochons and spike accessories to jazz up your illuminative letters.
The heart of light: LEDs and transformers to breathe light into your splendid creation.
Connecting Power: Triple Cable – Though it sounds complex, it's essentially a straightforward single-core cable.
Power Source: A 2 or 3 core cable and plug (opt for the 3 core if you're working with metal). These will help your charming hand-crafted lights twinkle bright! Happy crafting!
Step-by-Step Guide to Installing Fairground Cabochons on Letter Lights
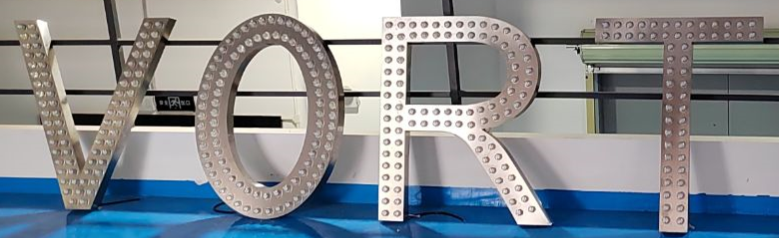
Step One: Selecting your Fairground Cabochons Before diving headfirst into installation, you need to first establish the size of your Fairground cabochons. Based on your preference, you can go with cabochons with either a 45mm or 60mm diameter at their fullest point.
Step Two: Prepare the Panel Having decided on your cabochons, the next critical step is creating openings on your selected panel for your Fairground lights. The panel can't exceed an 8mm thickness. Furthermore, for 60mm (E14) cabochons, bore a 20mm diameter hole or a 16mm diameter hole for 45mm (E10) cabochons.
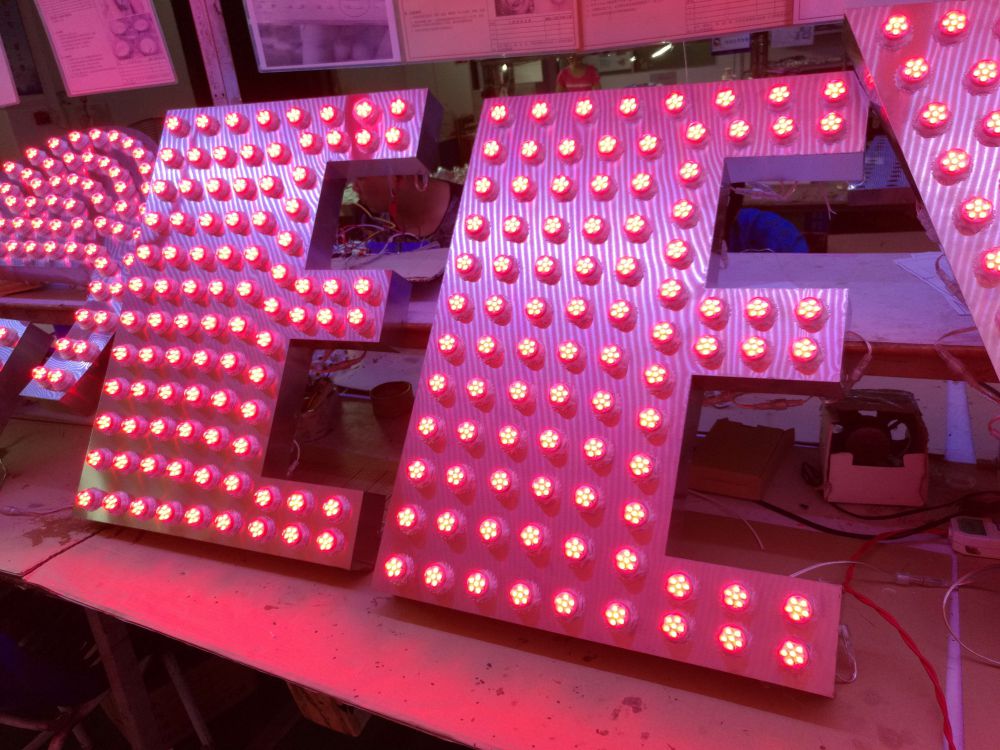
Step Three: Secure the Cabochon Now, let's get your selected (E10 or E14) spike fitting through the drilled hole from the back. Then, firmly attach a cabochon on the front side. This action ensures a secure fit not just for the cabochon, but also for the fitting.
Step Four: Laying and Securing the Cable As the backside of your item faces outward, position a length of tri-rated cable along one side of each spike fitting. Repeat this process with a second cable along the other spike fittings. Once placed, tighten the compression nuts onto each fitting to secure the cable on the spike and solidify the connection.
Step Five: Wiring the Transformer Next in line, connect the extreme end of the aforementioned cables to the 24V output of the Transformer. Then establish a connection from the 240V input cables to a plug.
Step Six: Inserting the LEDs It's time to flip your Letters, place 24V LEDs into each cabochon, and then fasten the cabochon lids tightly.
Step Seven: Light Up Your Show Following these simple steps, just plug in, and voila! Your Letter Lights, illuminated by the vibrant glow of the Fairground cabochons, become the dazzling center of attraction!